The pandemic has given me plenty of time to work on projects I’ve been procrastinating for ages. Sometime back, I happened to bump into the idea of making a 3D printer after a late-night marathon of ‘DIY projects’ on youtube.
Living in India, I’ve always had trouble sourcing certain parts for projects, with importing them via Aliexpress being my last resort. However, for this project, I was able to source ABSOLUTELY everything from local markets and dedicated DIY e-commerce websites such as Evelta, Robu, and Robokits in India.
This article (Part 1) is about my view on DIYing a 3D printer. Part 2 documents my mistakes and learnings (coming soon!).
One Liner Details (Quick Info for Nerds)
Printer type – Cartesian
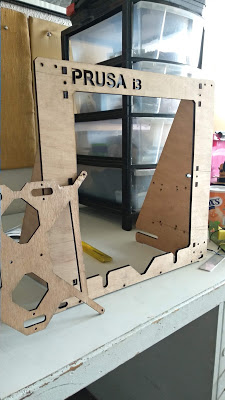
Model – Prusa i3 mk2(modified)
Print speed – Up to 40 – 50mm/sec
Tools used – Drill machine, Dremel (optional)
Build time – About a week (+ another week for calibration, debugging)
Approx build cost – <11k INR (Depending on where you source parts from, it could be as low as 9k INR)
DIY or Buy?
Building something as complex as a 3D printer, it makes absolute sense to question the fact that, can a ‘DIYed’ 3D printer even compare to a store-bought one?
Absolutely! In fact, you could also come up with a printer, that’s superior to the ones available in the market. The primary reason for this is the constantly evolving open-source firmware and the availability of high-quality components.
However, if your main motive to build the printer is to get started with printing things asap, DIY-ing the printer won’t be a good idea.
DIY-ing a printer implies you’re taking a leap of faith that you won’t lose motivation to debug the printer whenever it fails. Buying an Ender-3 is somewhat a perfect option for anyone looking for an inexpensive good-quality printer to get started alongside with a little DIY assembly.
Prerequisite skills?
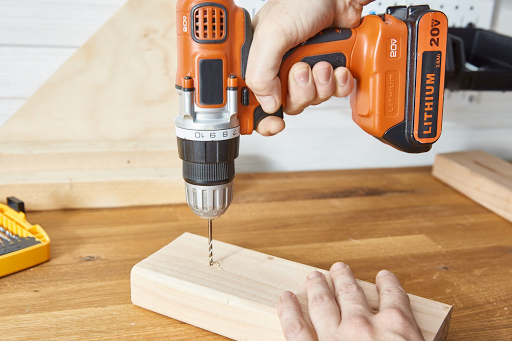
As long as you know how to use a drill machine safely, you can manage all of the mechanical work! Having prior experience working with electronics or having used an Arduino before is a bonus, but all in all, a youtube video can walk you through the whole process!
In a nutshell, having the DIY attitude and willing to spend time learning things on the go, is more than enough. The satisfaction of watching the build come to life step-by-step is totally worth all the time and effort spent on this!
DIY to what extent?
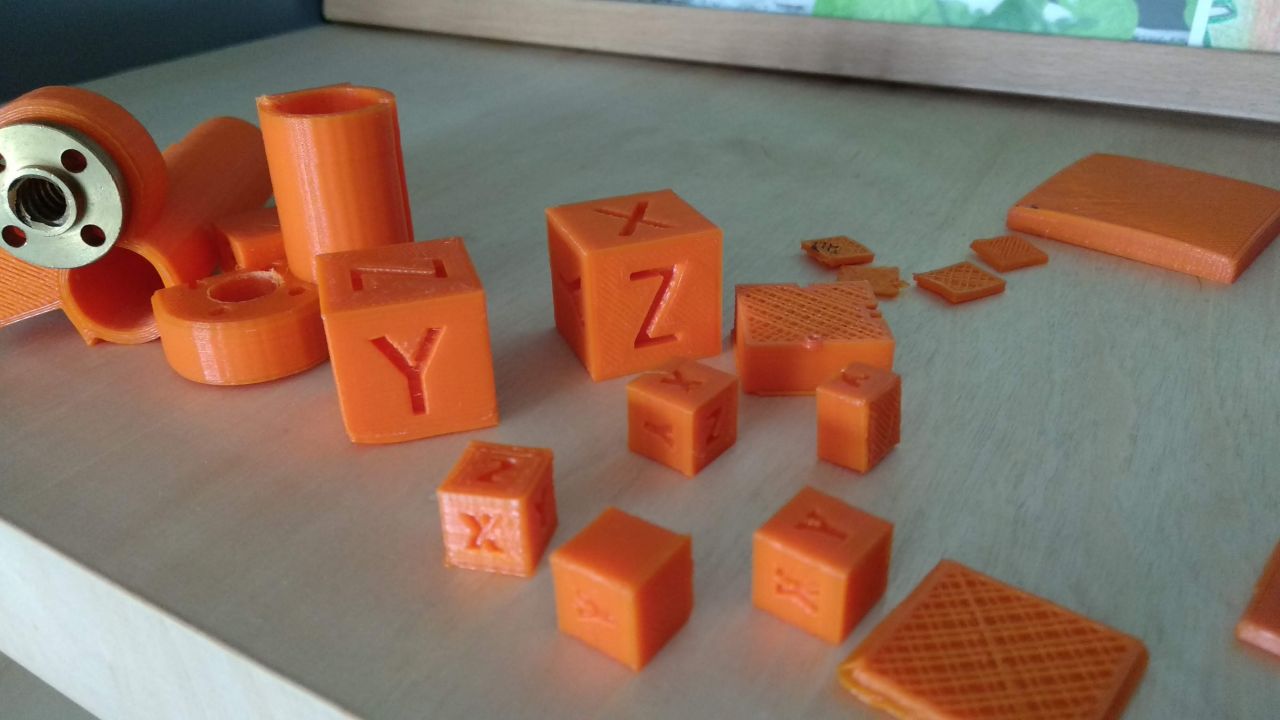
Building a 3D printer involves dealing with a chicken and egg situation. In other words, you need 3D printed parts to build a 3D printer! That being said, there are to ways to go about building a 3D printer at home-
I decided to go with the latter. Having direct access to a 3D printer during your build can help you tremendously cut costs. However, I got my parts printed from a local service.
However, halfway through I realized some components are really overpriced at my go-to hardware stores. So, decided to tweak the design to eliminate certain support structures with plywood.


Leave a Reply