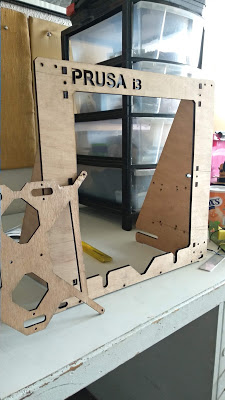
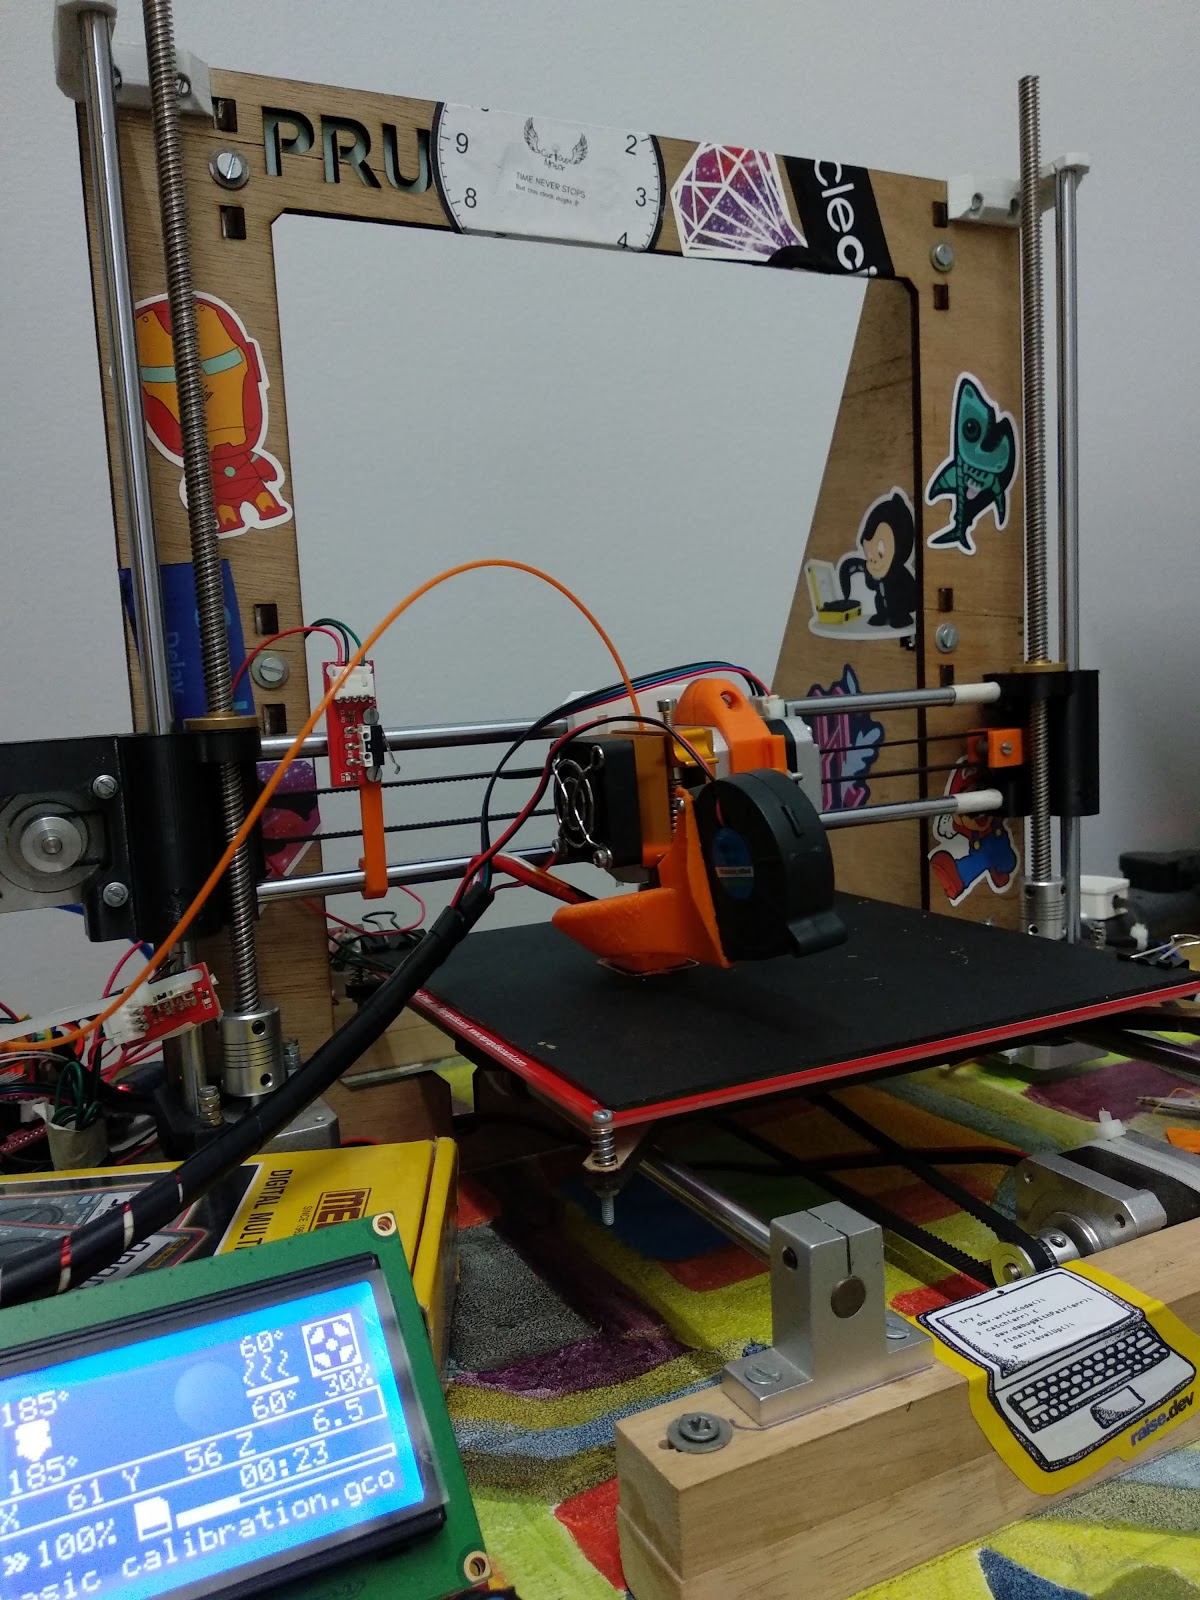
During the pandemic, I decided to build myself a 3D printer to add another dimension to DIY projects. As for this post, here are some pictures I clicked along the way. I built this printer at a time when I was loaded with college assignments, else all of it could have been done in 3-4 days! Ended up working for just about 1 -1.5 hrs a day.
![](http://curiousmotor.com/wp-content/uploads/2021/02/IMG_20201107_145258.jpg)
![](https://1.bp.blogspot.com/-h5xWkPAN294/YBkGEbwMqsI/AAAAAAAAlL0/wWkGdJRaB7kubdHqq3kaKgf279BMu7mOgCPcBGAsYHg/w400-h225/IMG_20201119_161324.jpg)
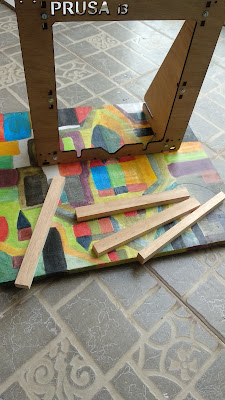
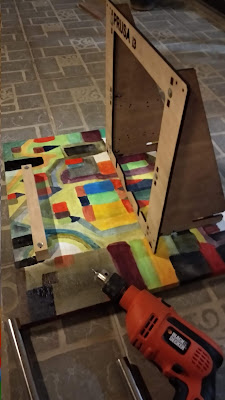
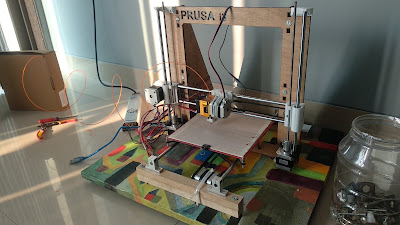
09/11/2020 – Fixed the frame to the base and got some parts 3D printed from another local vendor.
![](https://1.bp.blogspot.com/-eu4BufIjIZo/YBkG9g2lkqI/AAAAAAAAlMA/yTnM4kMM07AMOFcV9YvqNPueOLK2SoTKACPcBGAsYHg/w225-h400/IMG_20201120_145617.jpg)
![](https://1.bp.blogspot.com/-I61muWX-J0U/YBkG9mR-shI/AAAAAAAAlMA/S3rNhikCBcAMJxd-wFpcQGTkLkAyW8GjwCPcBGAsYHg/w400-h225/IMG_20201119_180625.jpg)
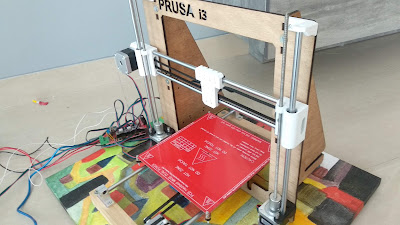
10/11/2020 – Assembled the Y-axis mechanical structure, consisting of smooth rods and the print bed.
![](https://1.bp.blogspot.com/-y-3mwsABz8M/YBkJHPSN_uI/AAAAAAAAlMM/u97uA_rBLUch_JQgEDPJZfydCILCRJpugCPcBGAsYHg/w226-h400/IMG_20201120_182741.jpg)
![](https://1.bp.blogspot.com/-K9BbbOrr4jQ/YBkJHPrsQhI/AAAAAAAAlMM/3RpCHtbsMqgQc63WC_NEB_N2FeoRVnz3ACPcBGAsYHg/w225-h400/IMG_20201120_200055.jpg)
![](https://1.bp.blogspot.com/--IAtHYg7Yfw/YBkJHPkfGMI/AAAAAAAAlMM/Z6QvCQMk9Rkg_Og7Px2h_NrJhOXBTR9TQCPcBGAsYHg/w400-h225/IMG_20201125_114903.jpg)
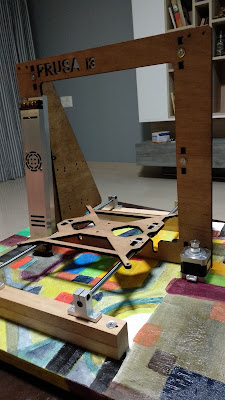
14/11/20 – Assembled the Mk8 extruder attached it to the X- carriage using zipties.
![](https://1.bp.blogspot.com/-2KIRkXxQXWo/YBkJHERBc4I/AAAAAAAAlMM/BwchXKj_mMk6hvGUpRthopPRmdJU9AjDQCPcBGAsYHg/w400-h225/IMG_20201125_122326.jpg)
![](https://1.bp.blogspot.com/-_JfOlWuQ_CM/YBkJHI2uiUI/AAAAAAAAlMM/dRTC153zpYsH-ToqzH037utUfyW7VTgbgCPcBGAsYHg/w400-h225/IMG_20201125_162817.jpg)
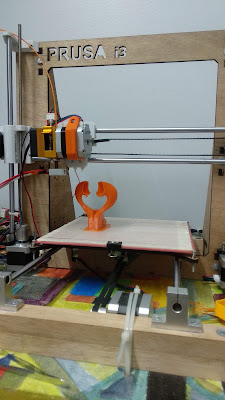
14-17 /11/20 – The z-axis simply wouldn’t work and make screechy sounds during the print. Tried all I could to debug it. Luckily someone on Reddit was able to point out that my Z-axis homing speed was too high. It was time for the first print, which took quite some time to tune…
![](https://1.bp.blogspot.com/-E-zQ2U8-m30/YBkJHCUKr_I/AAAAAAAAlMM/s2HZD9jDZR0tnffYuxYPr2yh7VR_PjAGQCPcBGAsYHg/s1600/IMG_20201130_004040.jpg)
![](https://1.bp.blogspot.com/-Z7F0YsAeGe4/YBkJHHLMJiI/AAAAAAAAlMM/z1mHlhOnpscjkIE1jadYYubEBq84ui6mQCPcBGAsYHg/s1600/IMG_20201130_101822.jpg)
19/11/20 – And the printer worked perfectly! It was time to replace Zipties with decent looking plastic parts. I found a nice extruder mount on Thingiverse and printed it out.
![](https://1.bp.blogspot.com/-_yQH2pyUfCM/YBkJHGMlGyI/AAAAAAAAlMM/QT3xOPIWZDwgl_V5eZUfAEbWXUKF9c5EQCPcBGAsYHg/w400-h225/IMG_20201130_162719.jpg)
21/11/20 – The very next thing I wanted to fix was the spool holder. Until then, the filament was in a box and would pull it out to create some slack every 5-10 mins. I used some old PVC pipe lying around in the house and bought a few joints to make a decent spool holder.
![](https://1.bp.blogspot.com/-3ecDpoAt8PA/YBkJHKG3i2I/AAAAAAAAlMM/Kq2K0by41SMWBVyOi5lo9FulyQm3HtS2QCPcBGAsYHg/w400-h400/20201205_170632-COLLAGE.jpg)
![](https://1.bp.blogspot.com/-YkbhHL6aYyY/YBkJHH6YQWI/AAAAAAAAlMM/6BWTveg9S1kf8sdhCOwT1elPNknl-QFkACPcBGAsYHg/w225-h400/IMG_20201204_150537.jpg)
![](https://1.bp.blogspot.com/-MyTwKeI5MM0/YBkJHOIrasI/AAAAAAAAlMM/OEtqGTvuQHIgbPk19opCcbBU3Sk4GsKTgCPcBGAsYHg/w225-h400/IMG_20201208_163031.jpg)
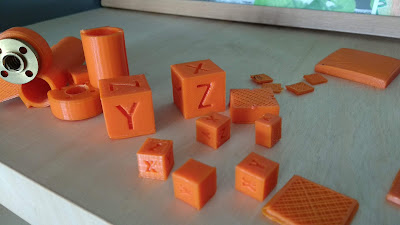
13/12/2020 – Had lots of fun printing keychains, gears, and other small stuff. Also printed a guitar capo that worked wonderfully!
![](https://1.bp.blogspot.com/-Lr9Xvt9d-Bc/YBkJHNOAc4I/AAAAAAAAlMM/x_oepSEGVGMZf2K5QeH76GZw3Cm99BXSQCPcBGAsYHg/w400-h225/IMG_20201217_135243.jpg)
![](https://1.bp.blogspot.com/-jrbIacmjZP4/YBkJHKO6h5I/AAAAAAAAlMM/YMpQL_8GHc0nZxq2WOBi58TaQ9wssdN_gCPcBGAsYHg/w225-h400/IMG_20201218_135349.jpg)
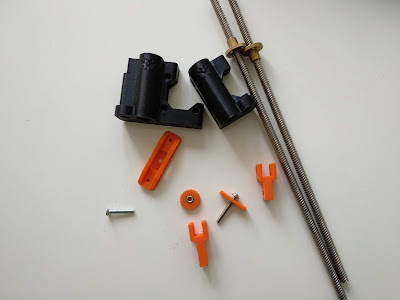
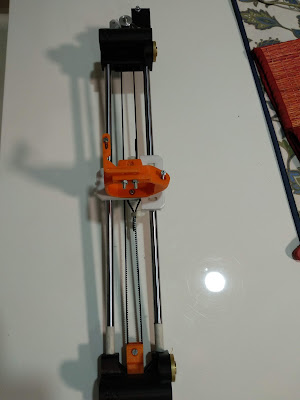
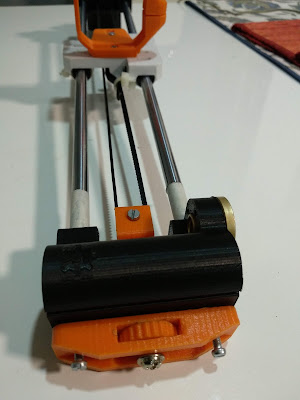
I realized that 5mm threaded rods on the z-axis had started to bend forwards. After a bit of googling, I got to know that most designs today, use either 8 or 10mm leadscrews. I stupidly dismantled the X-axis before printing parts for the new X-Axis. So once again, asked my local vendor to print some parts for the new X-Z axis.
![](https://1.bp.blogspot.com/-o61Mkc9_vFQ/YBkJHJM3x8I/AAAAAAAAlMM/p59JLvuUrc04onWrKxNXscaKgW9ZfQCugCPcBGAsYHg/s1600/IMG_20210126_182438.jpg)
![](https://1.bp.blogspot.com/-k0e00ilop7c/YBkJHJntQII/AAAAAAAAlMM/ikaADzXaZewLx0BsWCAliQ_jR7QPR_OMgCPcBGAsYHg/s1600/IMG_20210128_165828.jpg)
![](https://1.bp.blogspot.com/-gC3rtIuLC9c/YBkJHGynUhI/AAAAAAAAlMM/VqpSrpOyvzIeaK5oZx4FmheUBURjymKywCPcBGAsYHg/s1600/IMG_20210130_203555.jpg)
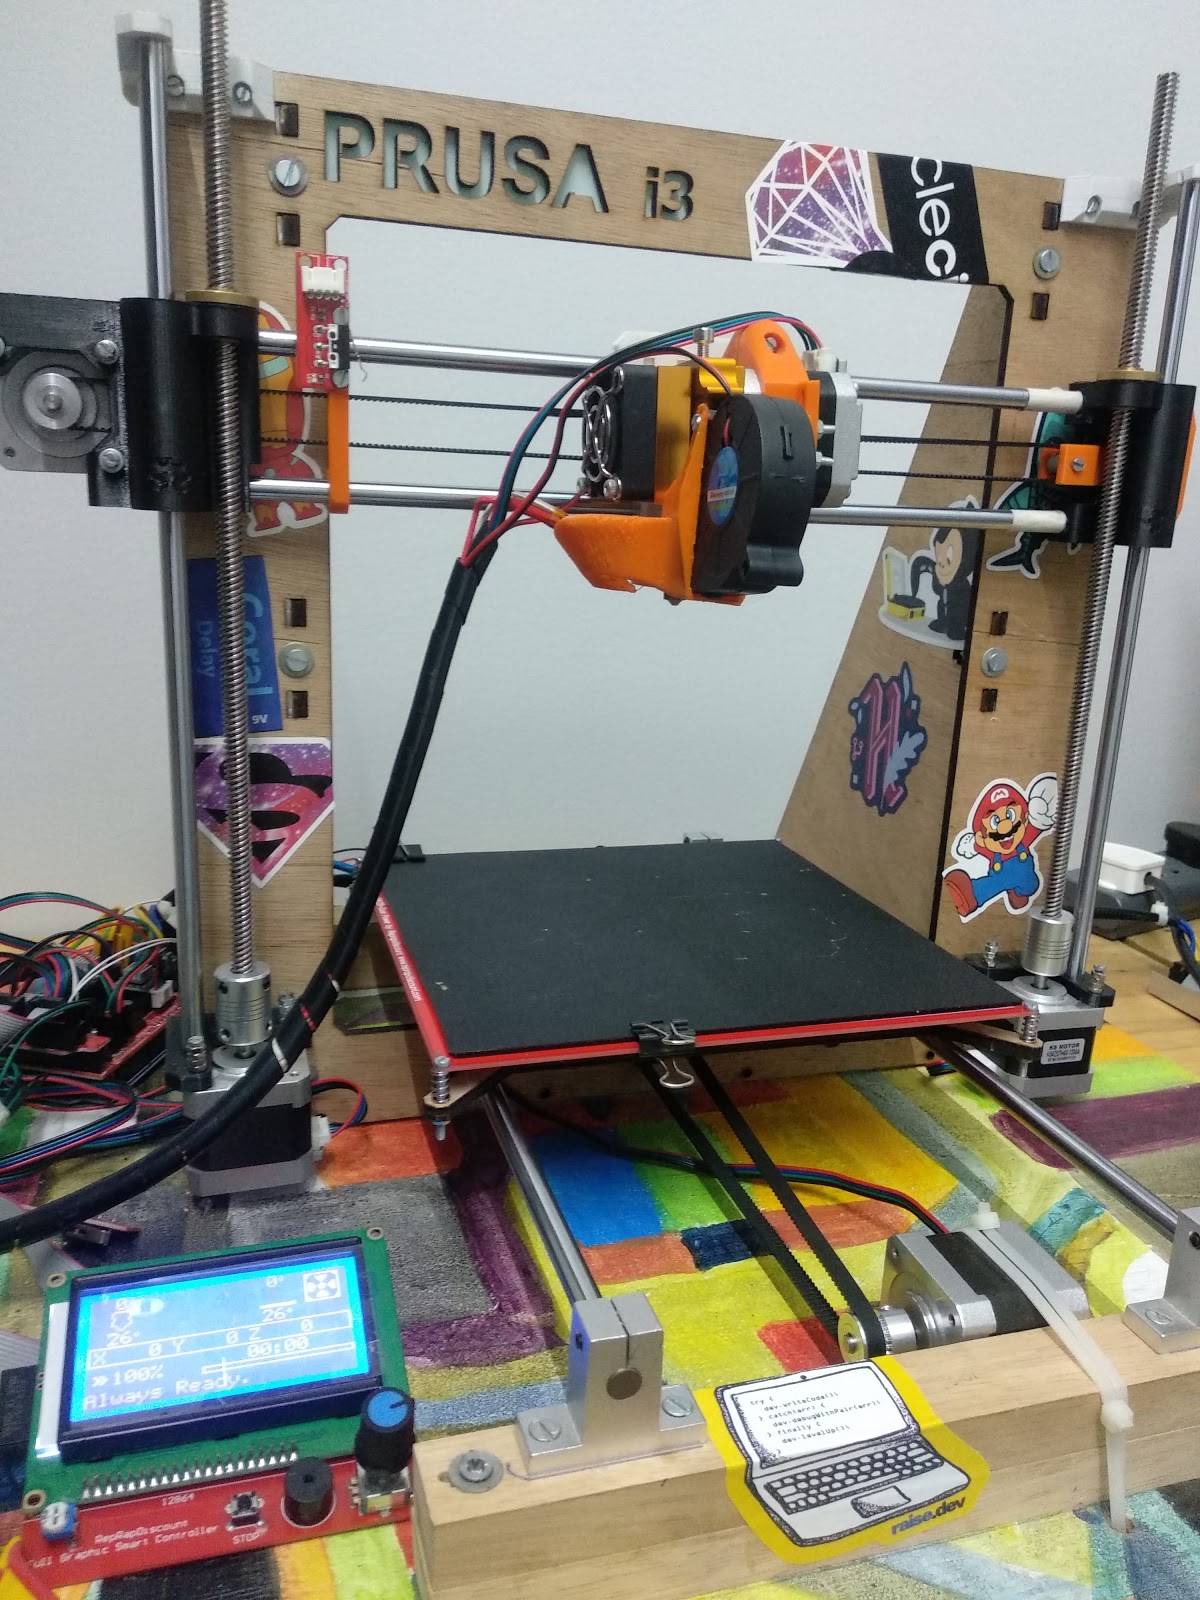
01/02/2021 – No problem with the printer, but I guess most projects such as the BCN3D moveo require a bigger print bed, so I plan to rebuild the frame with a bigger bed, preferably using aluminium extrusions!
Leave a Reply